
Image to image AI transforms an existing picture using a written prompt, adjustable settings, or both. Unlike text-to-image tools, it starts with visual guidance: a photo, sketch, or other image. How much that source shapes the result varies. One tool might preserve a person’s pose while changing the background; another may alter the subject more freely.
Understanding that difference helps you choose an image to image AI tool that fits the job. This article explains the basic process, explores practical uses, and offers a framework for comparing tools—including how they handle uploaded images.
How Image to Image AI Turns a Source Picture Into a New One
Most image to image AI workflows start with an upload and a prompt describing the desired change. You might provide a room photo and ask for warmer lighting, or submit a product image and request a different background. The source gives the system visual context; the prompt tells it what to change.
Many tools use diffusion models. In simple terms, these systems work with visual noise and gradually produce an image, guided by the source picture and prompt. The exact process varies by service, and some tools use different methods or add editing steps behind the scenes.
Settings can influence how much the result resembles the original. A control called image strength, denoising, or something similar may let you choose between subtle edits and broader changes. Names and options differ, so check a tool’s documentation or try a small test before relying on a setting for a detailed project.
Prompts help direct the edit, but they are not precise guarantees. Small details such as text, hands, logos, and exact facial features may shift or become distorted. Generate a few versions, compare them with the source, and refine the prompt or settings as needed. If you want more control over where processing happens, explore self-hosted AI options, while keeping in mind that setup and hardware requirements vary.
Choose the Editing Mode Before You Generate
An uploaded image can serve different purposes. Check whether the tool edits the source itself, uses it only as a style reference, or follows its composition. A feature called “image reference” does not necessarily preserve the original subject.
Whole-image transformation: Useful for exploring a new visual style across a scene, but details throughout the picture may change.
Inpainting or masked editing: Better suited to changing a selected area. Hugging Face’s inpainting guide explains how a mask defines the region to edit. Check which mask convention your tool uses and inspect the boundary afterward; selecting an area is not a guarantee of seamless results.
Outpainting: Extends a picture beyond its existing edges. It can help adapt an image to a wider layout, but the added surroundings are generated content rather than recovered information.
Structural guidance: Some workflows use edges, depth, or pose to guide layout. ControlNet documentation describes this approach. It provides a different kind of control from simply requesting a style; availability depends on the tool and model.

What You Can Do With It—and Where Results Can Fall Short
Image to image AI tools can help you explore visual ideas without starting from a blank canvas. Restyle a room photo to compare color schemes, test product or outfit concepts, or give an illustration a different artistic look. For social content, you can also create variations of an existing image for different posts or campaigns.
Treat the results as suggestions, not guaranteed faithful edits. A tool may change details you meant to keep, such as a product’s shape, a person’s features, or text in the image. Inspect important areas closely, and don’t present generated images as proof of what a real product looks like or what happened at an event.
Manual editing remains useful when accuracy matters. A designer might use AI to explore a new background, then correct edges, colors, or small details in an editing app. Teams planning repeatable content workflows can also consider business automation tools, though automating steps won’t guarantee better images.
Before choosing a service, check what its free plan actually includes. A comparison of free AI image generators can clarify differences in quality and usage limits, but don’t assume every listed tool supports image to image AI editing. Some focus on creating images from text, and features can vary by plan.
A Practical Image to Image AI Workflow
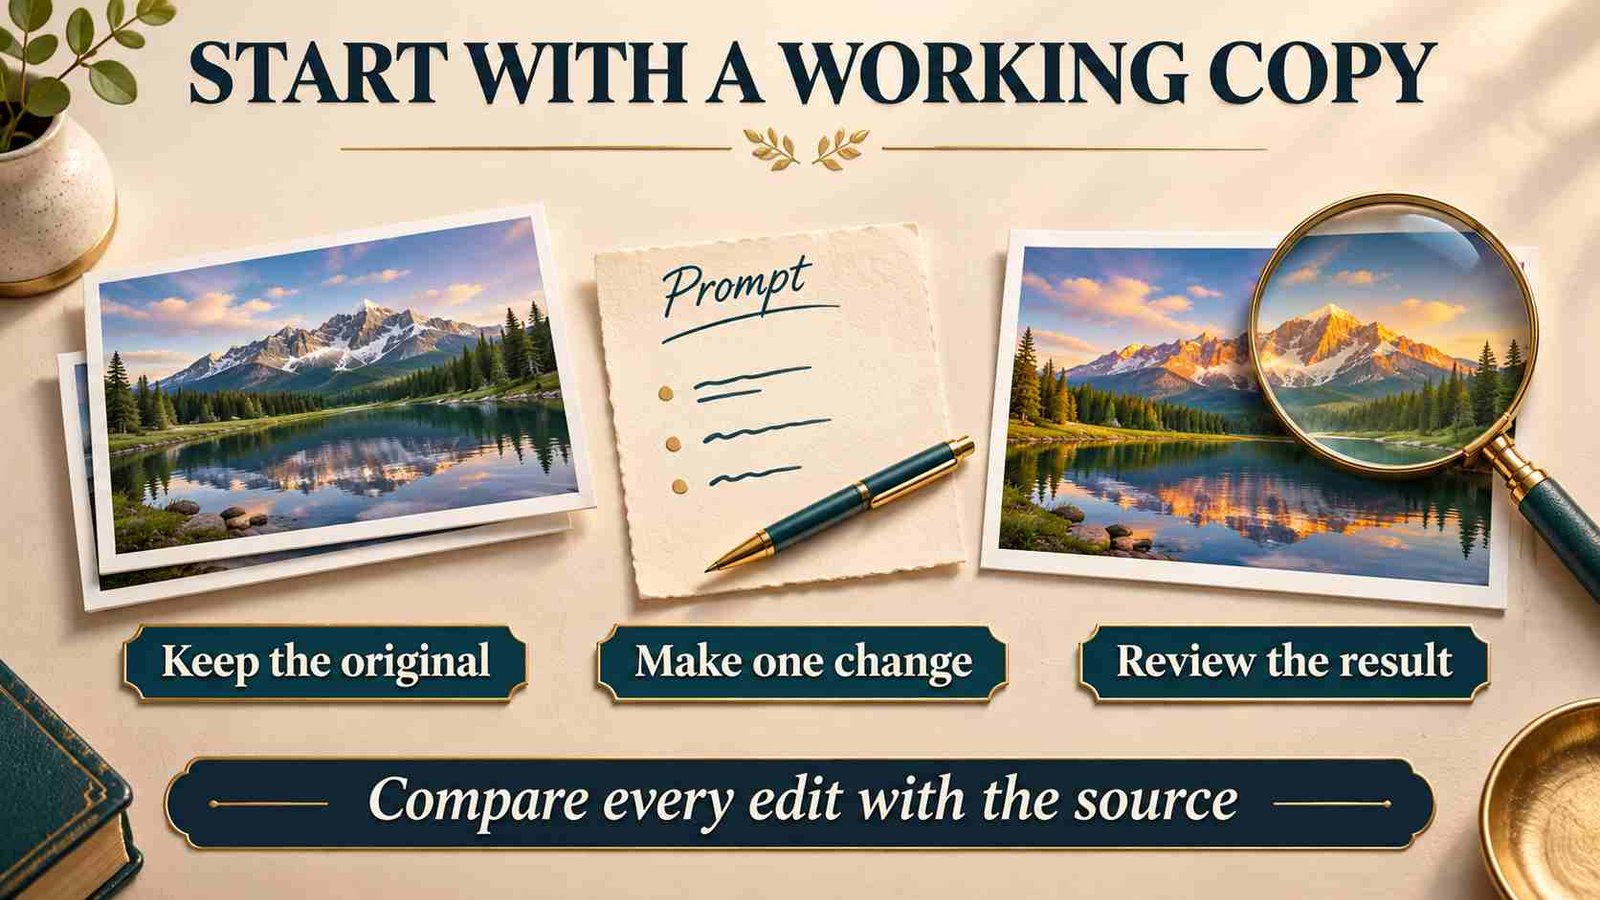
1. Prepare a working copy. Keep the untouched original. Choose a clear source with enough detail to judge the edit, remove unnecessary sensitive information, and check upload format, size, and cropping requirements.
2. Define one change. Write down what should change and what must remain recognizable. For a product background edit, that might mean keeping the item’s outline, label, color, and camera angle.
3. Select the appropriate mode. Use a mask for a local change when available. Choose the intended output aspect ratio before generating, and inspect any automatic crop.
4. Generate a small test. Compare it with the original before running a batch. Change one setting at a time so you can tell whether the prompt, mask, or transformation strength helped.
5. Finish and export. Correct remaining edges or text manually where needed. Save the approved file alongside its prompt, settings, and source so the work can be reviewed later.
Understand Strength, Prompt Guidance, and Repeatability
In many diffusion workflows, higher denoising strength allows a larger departure from the source. However, a service’s “image strength” slider may describe reference influence instead. Read the control’s definition before moving it. The Diffusers image-to-image guide explains strength and prompt guidance for its supported pipelines; those settings are not universal defaults for every app.
Prompt guidance and source preservation are separate considerations. A stronger instruction may emphasize the requested look without protecting a logo or exact geometry. Start conservatively when preserving details matters, then compare nearby settings using the same source and prompt.
If the tool exposes a seed, record it together with the model and other settings. Keeping the seed fixed can make comparisons more controlled within a compatible workflow, but it does not guarantee identical results across models, software updates, or devices.
Write Prompts That Separate Changes From Details to Keep
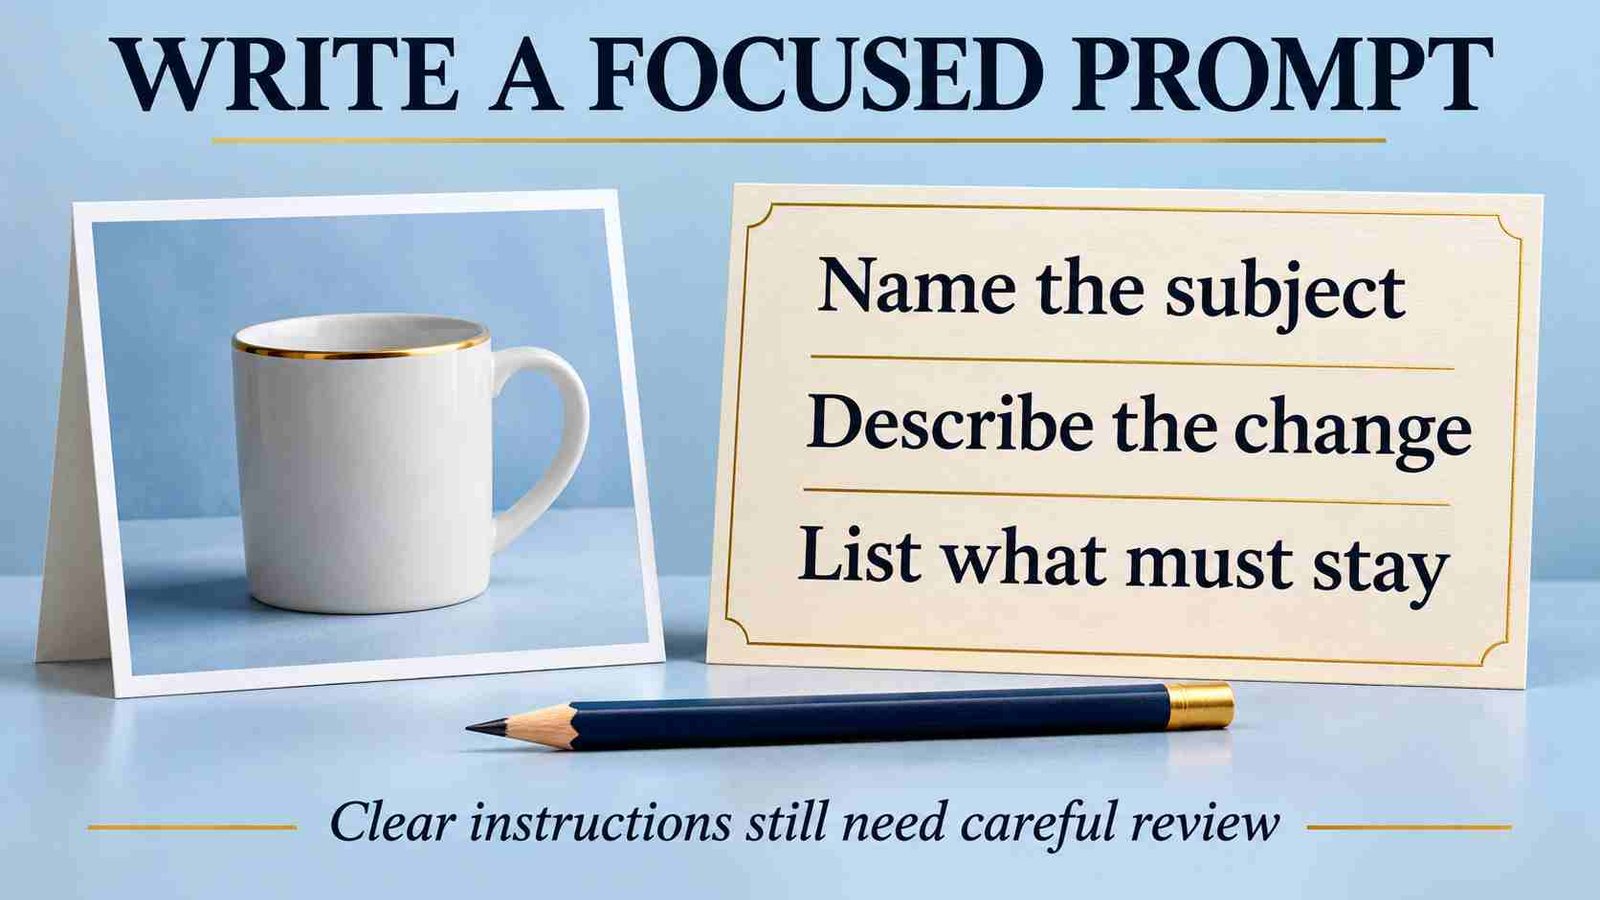
A useful image to image AI prompt identifies the source subject, states the requested change, and names the details that matter. Avoid combining a new background, lighting change, restyling, and object replacement in the first attempt.
Background example: “Replace the background behind this ceramic mug with a plain warm-gray studio backdrop. Keep the mug’s shape, handle, glaze color, and camera angle unchanged. Add a soft contact shadow.”
Style example: “Reinterpret this garden sketch as a watercolor illustration. Keep the main path and tree positions recognizable, with muted greens and a light paper texture.”
These are starting instructions, not tested performance claims. For the mug example, mask the background if the tool supports it. If lettering or a brand mark changes, restore the original element with manual editing rather than assuming a longer prompt will preserve it.
How to Choose the Right Image to Image AI Tool
Choose image to image AI controls around the job you need done. For targeted changes—such as replacing a background while keeping a person intact—look for precise editing and masking controls. For broader exploration, such as testing different illustration styles, prioritize style controls and options for generating variations.
Then compare practical details: output quality, ease of use, maximum image resolution, editing controls, supported file types, and generation speed. Check the image to image AI features included in the free plan and any subscription you are considering. A tool that works well for a quick social post may not offer the resolution or file formats needed for print or a professional design workflow.
Privacy and usage terms matter, especially when uploading personal or client images. Check whether the service stores uploads or uses them to improve its models, and whether you can delete your images. Review the license for generated work to understand what uses are allowed. For a broader approach to assessing AI services, see a guide to evaluating AI reliability.
Before committing, test the same source image and prompt in your shortlisted tools. Compare whether each result preserves the details that matter for your intended use, such as a product’s shape, a person’s facial features, or text in a design. This side-by-side test is more useful than judging tools by sample images alone, which may not reflect your own workflow.
Use a Simple Pass-or-Fail Test Before Choosing
Give each shortlisted tool the same low-risk source, requested change, and delivery requirements. Set a small attempt limit in advance. Record the outcome of every attempt so a single attractive result does not hide repeated failures.
Preservation: Does the subject retain the shape, color, lettering, and framing that your brief requires? Reject a result if a protected detail changes, even when the overall picture looks appealing.
Edit accuracy: Did the requested change happen in the intended area, with believable edges and lighting? Compare the original and output side by side rather than relying on memory.
Delivery: Can you download the required dimensions and format under the plan you intend to use? Include correction time and failed attempts when judging whether the workflow is practical.
Choose the tool that passes your essential requirements consistently enough for the project. If none passes, narrow the edit or change the workflow instead of selecting the least noticeable failure. This is a suggested evaluation method, not a report of hands-on testing.
Fix Common Image to Image AI Problems
The source changes too much: Reduce transformation strength according to the tool’s definition, simplify the instruction, or switch to a smaller masked edit. Return to the original source rather than repeatedly editing an increasingly distorted version.
The requested change barely appears: Confirm that you selected the correct mode and editable region. Then adjust the relevant control gradually; a maximum setting is not automatically the best solution.
Edges, shadows, or reflections look wrong: Review the mask boundary and surrounding context. Check contact shadows and lighting direction, then use a focused correction or manual compositing if the result still looks inconsistent.
Text, faces, or product details drift: Treat these as failed preservation checks. Keep protected areas outside the edit where possible, and use the original pixels or a conventional editor for details that must remain exact.
Inspect the Download Before Using the Image
Review the exported image to image AI result, not only the preview. Check pixel dimensions, aspect ratio, sharpness, watermark restrictions, and whether the selected format preserves transparency when you need it. A checkerboard visible in a preview does not by itself confirm that the saved file has an alpha channel.
Inspect at full size and at the intended display size. Look for changed labels, duplicated objects, broken edges, inconsistent reflections, and unexpected cropping. Enlarging a file does not prove that missing detail has been faithfully recovered.
Keep a separate approval copy and retain the original. For client work, record the requested edit and obtain approval before replacing a production asset. Where a platform or project requires disclosure of AI edits, follow those requirements.

Privacy, Rights, and Responsible Use Before You Upload
Before using image to image AI, consider what the picture reveals and who may access it. Avoid uploading sensitive personal photos, client images, or confidential business materials unless the provider’s data practices and account controls meet your needs. Check whether uploads may be stored or used to improve the service, and whether you can delete them.
Permission to edit and share an image matters, especially when identifiable people appear in it. Respect copyright, trademarks, and the tool’s platform rules; accepting its terms does not settle every legal or ethical question. For commercial work, check the tool’s current usage terms and review the result carefully. An edited product image, for example, should not misrepresent a product’s features or appearance in a listing or promotion.
When a Conventional Editor Is the Better Choice
For a simple crop, exact text replacement, a measured color adjustment, or a layout change, try a conventional editing tool first. These tasks often benefit from direct controls rather than generating a new interpretation of the image.
Use a hybrid workflow when the background needs creative exploration but the subject must remain exact: preserve the original subject on a separate layer and combine it with the approved background, then check perspective, edges, and shadows.
Do not use generative editing to reconstruct supposedly factual details in evidence, identification documents, or records where the original appearance matters. Keep creative variations clearly separate from the source. An attractive replacement cannot establish what was actually present.
Frequently Asked Questions
1. How is image to image AI different from text-to-image AI?
Text-to-image generation starts with written instructions, while image to image AI adds an existing picture as guidance. The source can influence composition or appearance, but the result may still change important details.
2. Does uploading a picture guarantee that the subject stays unchanged?
No. An uploaded picture provides guidance rather than a guarantee of exact preservation. Compare protected details with the original and use masking or manual compositing when precise subject fidelity is essential.
3. Should I use image to image AI or inpainting for a small edit?
For a localized change, look for inpainting or masked editing rather than transforming the entire picture. Check the mask boundary and review surrounding details because the selected area can still require correction.
4. What should I change when the result looks too different?
Check how the tool defines strength, then reduce transformation or increase source influence as appropriate. Simplify the prompt, edit a smaller area, and compare one adjustment at a time.
5. Can I use a sketch instead of a photograph?
A sketch can provide visual guidance when the tool accepts it. Describe the intended finish and check whether line positions, proportions, and composition survive well enough for your particular project.
6. Can image to image AI recover missing details from a blurry photo?
It may produce a sharper-looking interpretation, but generated details are not proof of the original scene. Keep the source and avoid treating invented texture, lettering, or facial details as recovered facts.
7. What should I check before uploading a client image?
Confirm permission to use the picture and review the service’s upload handling, retention, deletion options, and relevant account controls. Use a nonsensitive sample until those conditions meet the project’s requirements.
8. How should I compare free and paid image to image AI tools?
Test the same edit and check preservation, correction effort, download requirements, and plan restrictions. A paid tier is useful only when its specific features or capacity address a confirmed need.
Conclusion
Image to image AI is most useful when you have a clear source and a specific change in mind. Choosing the right workflow matters as much as choosing the tool: a broad restyle, a masked correction, and an expanded background need different controls. Start with a working copy, explain what should change, and identify the details that must stay recognizable. Judge the result against that brief, especially where product shapes, lettering, facial features, or other precise details matter.
Before committing to a service, test a representative edit and inspect the downloaded file rather than relying on its preview. Compare preservation, correction time, export options, privacy controls, and the conditions of the plan you intend to use. Keep the original and record the settings behind any approved result. If repeated attempts still change essential details, narrow the task or finish it in a conventional editor. The best choice is the workflow that produces a usable image you can confidently review and approve.